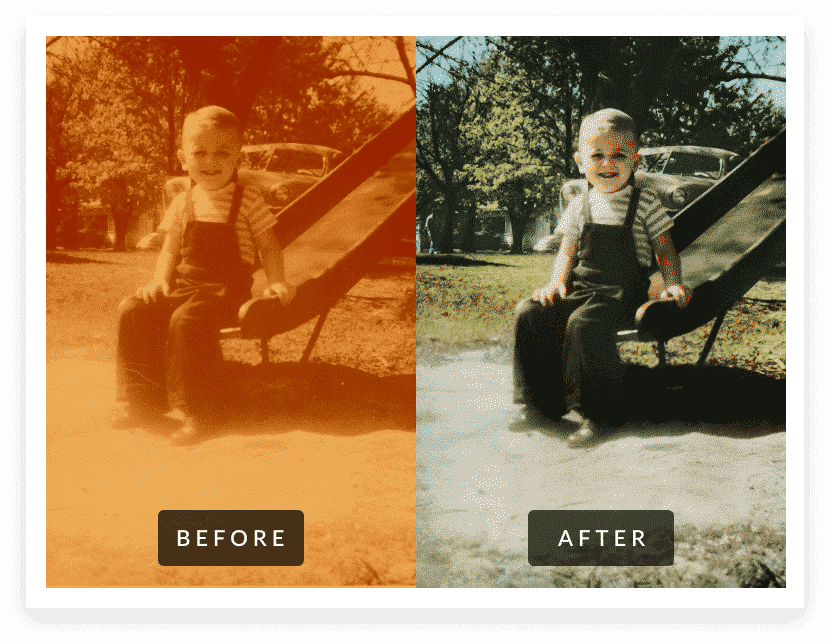
Do you have an old photo that is faded, torn, or scratched and you want to restore it? It can be done easily with the right tools and techniques. In this article, we will look at how to professionally restore an old photo without having to take it into a professional studio. We’ll cover everything from scanning your image and using software to enhance its color and contrast. As well as tips on framing your restored photo for display. With these simple steps, you can bring life back into an old photograph so that it looks new again. And if you don’t feel confident enough in doing it yourself, MemoryCherish is here to help!
Step-by-Step guide on how to professionally restore an old photo, using MemoryCherish’s powerful restoration technology:
Gather Your Materials.
Before beginning the restoration process, make sure you have all of the materials needed to complete the job. This includes a piece of paper and a pencil to take notes on any changes or adjustments you make during the overhaul. It’s also helpful to have a scanner and/or digital camera handy just in case you need to further adjust your photo after it has been scanned into your computer.
Scan or Upload the Photo To the Computer.
The first step is getting your photograph into a digital format so that you can begin editing it with software such as Adobe Photoshop or GIMP. If you are working from an original print, you will need to scan it into your computer. If you’re starting from a digital file, you can simply upload the photo into your software.
Adjust Color and Contrast Levels.
The majority of old photos suffer from faded colors and/or poor contrast levels due to age and damage over time. To fix this issue, begin by adjusting the color balance and tone curve to restore color vibrancy and clarity as closely as possible to its original state.
Remove Scratches and Discoloration.
Once the overall appearance of the photograph has been improved with adjusted colors, use tools such as Healing Brush or Clone Stamp Tool in Adobe Photoshop/GIMP to remove any scratches or discoloration that remain. Using these tools, you can “paint” over those areas with content from nearby pixels, effectively eliminating the unwanted blemishes in one stroke.
Sharpen Details and Adjust Clarity.
To restore sharpness to the image, use Unsharp Mask in Adobe Photoshop/GIMP to adjust the amount of sharpening applied along with its radius and threshold levels for precision control. You can also use Smart Sharpen Filter to refine details even further while preserving important texture elements of your photograph.
Touch Up Photos With Advanced Tools.
If you want a truly professional-looking restoration result, consider using advanced photo enhancement tools such as Frequency Separation or Dodge & Burn Tool to retouch and refine skin blemishes, wrinkles, and other small details in the photograph.
Print and Share Your Work.
Once you’re happy with the results of your restoration work, it’s time to share your photo with family and friends! You can print out a physical copy of your photo for safekeeping or share them online via social media.
Conclusion:
Now that you know how to professionally restore an old photo, why not save yourself some time and energy by using MemoryCherish? We use cutting-edge technology to help preserve memories from past generations so that they may live on forever. With our powerful yet simple tools, you can easily turn any old photo into a stunning work of art! Contact us today for more information on how MemoryCherish can help you restore old photos.


